News
Operation steps of tensile testing machine and issues to be paid attention to during installation
Release time:2019-09-21 source:Jinan Hengsi Shanda Instrument Co., Ltd. Browse:
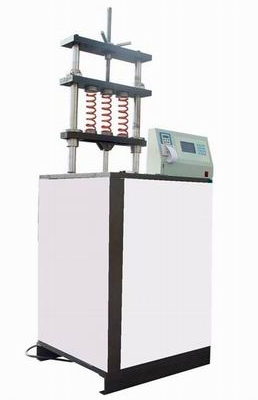
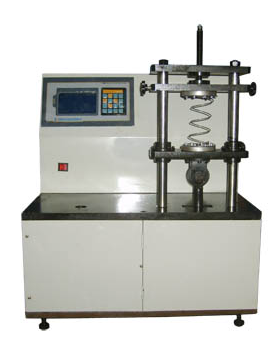
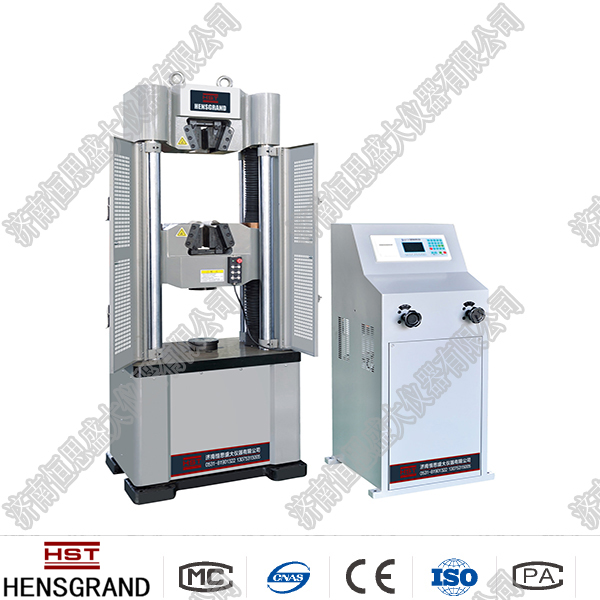
The tensile testing machine can test the tension, compression, bending, tearing, 90° peeling, pulling force, elongation, tensile strength, etc. on rubber, plastic, film, textile, fiber, polymer materials, composite materials, safety tape, tape, alloy materials and other non-metallic materials, metal materials and their components, finished products and semi-finished products. The application scope is also very wide. The editor will introduce to you the operating steps of the tensile tester and the issues that should be paid attention to during installation.
1. Issues that should be paid attention to when installing the tensile tester
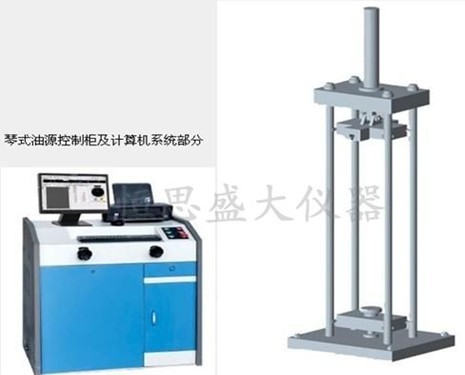
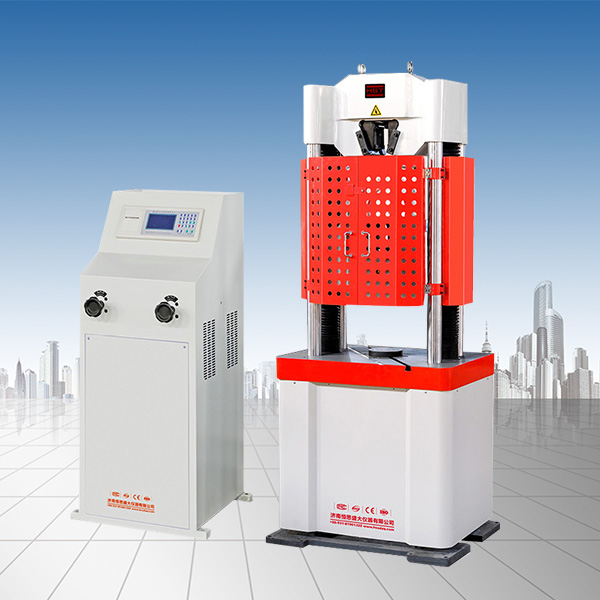
1. Installation of tensile testing machine
The main body and force gauge of the tensile tester should be installed on the concrete foundation. The foundation size should be set aside according to the appearance and foundation map, and other devices such as anchor screws and lower jaw screws, as well as other wire installation pipes. The upper plane of the foundation should be flat, and a water ruler should be used to make the foundation dry, and then install the test machine.
2. Correct the accuracy of tensile tester
After the above-mentioned preliminary accuracy of the test machine is corrected, the oil pipe, power supply and oil filling are turned on and the preliminary operation and test run is carried out. When the test run is good, the accuracy of the test machine is corrected. Use a square level instrument to lean against the working platform, align the plumb slature of the oil cylinder, adjust or increase or decrease the horns under the machine seat, so that the error must not be greater than 0.10/1000. After the accuracy of the test machine is found, use cement slurry to fill all the gaps under the machine base to keep the base well combined with the cement foundation, and prevent the test machine from being dehydrated due to vibration during use. After the anchor nut is poured, the anchor nut and the test machine are not allowed to be tightened before the cement is dried. (The cement drying time is generally no less than 10-15 days) After the cement is completely dry, tighten the lucky foot nut and check the installation accuracy of the test machine to see if it is consistent with the correcting accuracy. If it does not match, it should be corrected again. During the use of the tensile tester, since the vibration during the test is prone to loosening, the relevant parts should be tightened after the tensile tester is used for a period of time.
3. Tension tester takes over
When installing the oil pipe with the main body and the dynamometer, the inside of the oil pipe should be washed with kerosene to ensure the cleanliness of the oil circuit. Pay attention to whether the gasket at the joint is complete to prevent oil seeping during high pressure.
4. Select oil specifications
During hydraulic rotation, n68 precision machine tool hydraulic oil can be used, or other oils with similar specifications can be used, with kinematic viscosity of (100℃) 11-14 centistokes.
5. Oil filling and oil discharge from tensile testing machine
Open the air filter on the oil tank and pour the oil into the oil tank. The amount of oil injected at one time is about 24 kg. The oil specifications used can be found in the oil specification introduction. When draining oil, just open the oil nozzle at the bottom of the left side of the dynamometer. The service life of the oil is determined based on the climate in various places. If you find that the oil starts to deteriorate or is filthy and cannot be used, you should replace it with new oil.
6. Connect to power
The electrical device of the tensile tester is in the dynamometer and the power supply is a three-phase four-wire system. The circuit between the main body and the dynamometer is connected by a plug. Before powering on, the dust and other impurities in the electrical box should be cleaned. After introducing the power cord, press the "Power" button on the dynamometer platform panel to prove that the power supply has started. At this time, you can press the oil pump start button to observe the rotation direction of the motor, and then press the jaw seat lift button to check whether the lifting and lowering action of the lower jaw seat matches the text shown on the button, and at the same time check whether the respective limit switches work.
7. Lubrication of tensile tester
Lubricating oil can be poured on the lower jaw screw to lubricate the screw rod and the screw nut. There is an oil injection hole on the machine base, which injects oil into the oil lubrication worm. The scale of the oil in the oil can be measured by the oil measuring needle, and the maximum oil level of the oil cassette does not exceed the lower flat part of the oil measuring needle. The lower end of the oil measuring needle is the lowest oil level in the oil stool.
2. Operation steps of tensile testing machine
1. For experiments such as tightening and bending, you can refer to the above items to operate.
2. Remove the broken sample.
3. Turn on the oil return valve, and after unloading, the passive needle returns to zero point.
4. The tensile test machine records the required values and will draw them.
5. After the sample is broken, close the oil valve and stop the oil pump's electrical thought.
6. The tensile tester slowly unscrew the oil supply valve according to the loading speed required by the experiment to perform the loading experiment.
7. Turn on the lower jaw button, lift and drop the lower jaw to the appropriate height, clamp the other end of the microcomputer screen steel strand tensile tester sample into the jaw, and be careful to make the sample perpendicular.
8. Turn on the oil pump to adjust the pointer aiming at the zero point of the dial.
9. Clip one end of the sample into the upper jaw.
10. The tension tester starts the oil pump button, unscrew the oil feed valve to raise the test stand to 10 mm, and then closes the oil valve. If the test stand is already in the raised position, you do not need to turn on the oil pump first, just close the oil feed valve.
11. On the drum of the drawer, roll the recording paper, which is only carried out when it is required.
12. Install the responsive chuck into the upper and lower jaw seats according to the sample shape and size.
13. According to the sample, select measurement limitations, hang or remove the swing thallium on the swing rod and adjust the buffer valve handle to aim at the standard line.
14. Turn the main switch on the power supply.
Before using any test machine, everyone should have a good understanding of the product to better achieve human-machine running-in during operation. This improves production efficiency. The above is an introduction to the operating steps of the tensile tester and the issues that should be paid attention to during installation. I believe that you have a certain understanding of this after reading it, and I hope it can help you.