News
Installation requirements and steps of pipe ring stiffness tester
Release time:2019-09-26 source:Jinan Hengsi Shanda Instrument Co., Ltd. Browse:
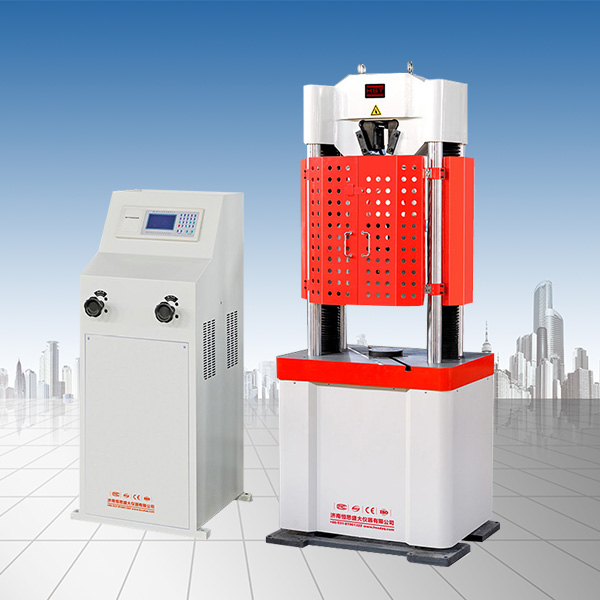
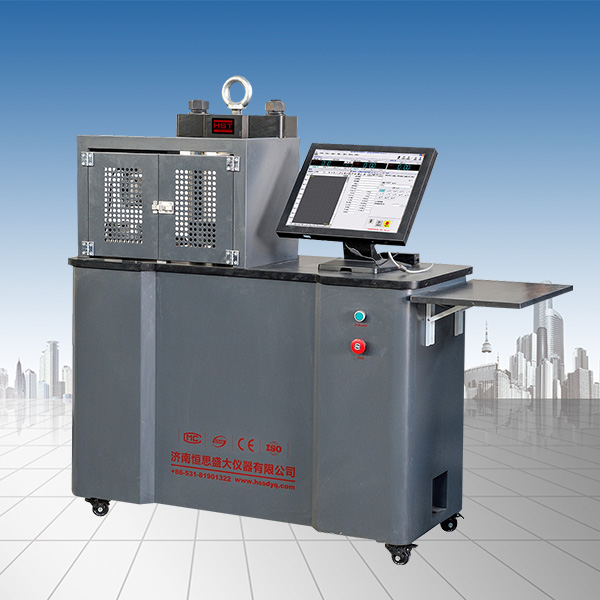
The pipe ring stiffness test machine is a new generation of dual-space microcomputer controlled testing machine designed for colleges and universities, science institutes, and quality inspection institutions. It can complete various mechanical properties tests such as tensile, compression, ring stiffness, and bending of the sample. What I want to share with you this time are the installation requirements and steps of the pipe ring stiffness tester. Let’s take a look.
1. Installation requirements for pipe ring stiffness tester
1. The installation location must be solid and flat without laying the foundation.
2. Pay attention to protecting the surface paint layer of the machine to avoid collision with the steel plate cover.
3. The space height is not less than 4000mm. The main reason is that the test machine has a test space of 3 meters, and the test space for easy installation should not be less than 5 meters. In order to avoid collisions during installation due to too low space, the test machine will not work normally.
4. Lifting of pipe ring stiffness tester
(1) The outer cover plate of the test machine main unit cannot bear weight. Therefore, do not tie the cable directly to the cover plate. Usually, lifting is through the upper beam or the lifting device provided by the machine.
(2) Please lift and put it gently when lifting.
(3) When erecting the host, the ring screws on the bottom foot board should be removed first, and pay attention to changing the center of gravity of the host to prevent overturning.
2. Installation steps of pipe ring stiffness tester
1. Installation of various random accessories, which mainly includes the installation of computer host, monitor, and printer. The installation of these accessories is very simple. Users can refer to the instructions of the ring stiffness test machine when leaving the factory and also install them according to the installation method of such equipment for household use.
2. Installation of cables:
Including (1). Load sensor signal output interface;
(2). The corresponding interface of the computer host is connected;
(3). Connection cable between the printer and the computer;
(4). Connect the connection cable of the manual control box.
In addition to the third item, even if the user understands that the interface is that, the user can still install it, because the correct installation can only connect the two parts closely. If the connection is wrong, it cannot be installed in the corresponding slot. As for the installation of item 3, the installation is mainly based on the printer's instructions.
3. Adjust the level of the test machine: Everything is ready to be installed, and there is only one last step left, that is, adjust the level of the test machine: When adjusting, first place the pad under the bottom plate, and then place the 0.02mm/m level on the work surface of the test machine. There are four horizontal adjustment screws. One of them is rotated downward to make the bottom plate about 2mm away from the pad plate. The height is used as a reference to adjust the downward depth of the other three horizontal adjustment screws, so that the horizontality of the workbench in the two mutually perpendicular directions is within 0.2/1000.
To sum up, this is the introduction to the installation requirements and steps of the pipe ring stiffness tester. I believe everyone has a certain understanding of this after reading it. If you have any questions during use, you can call our service hotline through the web page, and our technicians will answer it one by one. Welcome to call and support!
Recommended productsPRODUCTS