News
How to install a clamp to save effort
Release time:2022-08-04 source:Jinan Hengsi Shanda Instrument Co., Ltd. Browse:
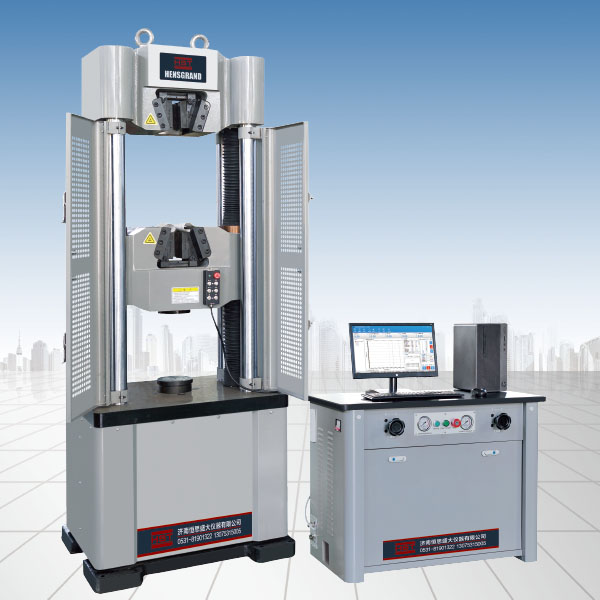
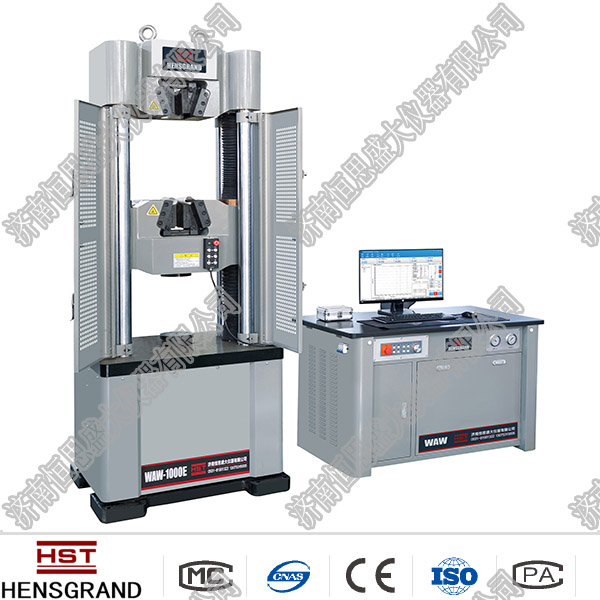
In most cases,Tension testerWhen shipped, the manufacturer will remove the fixture. The main purpose of this is to avoid clamping the specific collision of the test machine body due to some external factors such as bumps and shaking during transportation, causing damage to the housing and theme of the test machine, which not only affects the beauty, but may also have a certain impact on the test machine data.
Therefore, when the customer receives the tensile tester, he must install the clamp himself. So how to install a clamp on the tensile tester to save effort? In fact, the specific installation of the clamp is not complicated. As long as you master the key points and some tips, you can easily do it. Here is an editor explaining these tips to you:
When installing the lower clamp, first connect the lower joint and the lower clamp, then insert the two into the guide rod and connect them through a fixing pin. After completion, tighten the lock nut and the connecting nut to eliminate gaps. The measurement principle of tensile testing machine.
When installing the upper clamp, first connect the universal joint to the upper connecting seat, then connect the two to the upper crossbeam, then connect the upper clamp to the upper joint, then connect the universal joint through a fixing pin, and then tighten the lock nut.
Tips: Let me tell you the most labor-saving method to install the upper clamp! Put the upper clamp on the lower clamp and manually raise the middle cross beam to assemble the upper clamp with the universal joint. At this time, you should be careful to move the middle beam to avoid damaging the parts of the test machine.
- Previous article:What are the causes of oil leakage in the universal pressure test machine?
- Next article:How to install and operate the tensile tester
Recommended productsPRODUCTS