News
How to install and operate the tensile tester
Release time:2025-05-20 source:Jinan Hengsi Shanda Instrument Co., Ltd. Browse:
1. Installation of tensile testing machine
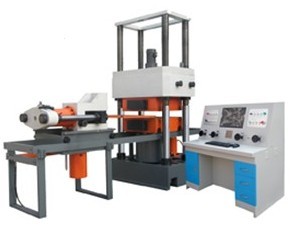
The test machine should be installed in a clean, dry and uniform house, and the possibility of long beam bending tests on the machine and the possibility of using a mirror extension gauge for testing, so sufficient spare area should be left around the test machine.
When installing the main body of the test machine and the dynamometer, there is no need for special foundations. Only the general foundation is made according to the foundation map and the anchor screw holes are left to be poured.
2. Operating procedures of tensile testing machine
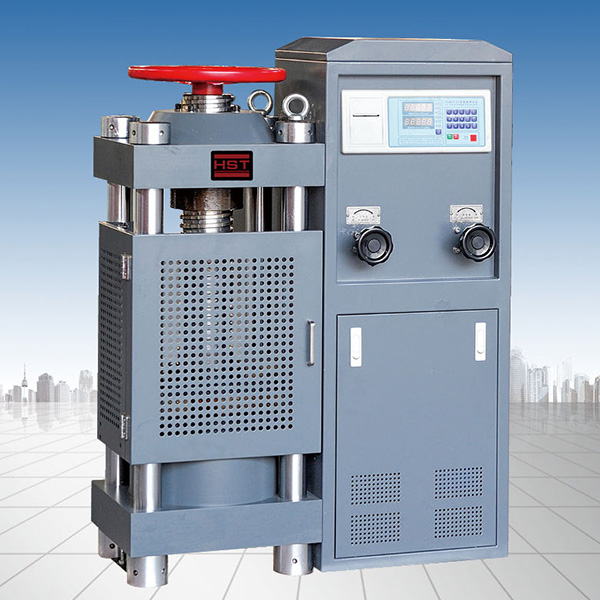
1. Turn the main switch on the power supply.
2. According to the sample, select the measurement range, hang or remove the hem on the swing rod and adjust the buffer valve handle to align the standard line.
3. Install the corresponding chuck into the upper and lower jaw seats according to the shape and size of the sample.
4. On the drum of the depictor, roll the recording paper (graph paper), which is only done when necessary.
5. Turn on the oil pump motor, unscrew the oil feed valve to make the test stand raise paper 10 mm, and then close the oil valve. If the test stand is already in the raised position, there is no need to turn on the oil pump first, just close the oil feed valve.
6. Clip one end of the sample into the upper jaw.
7. Turn on the oil pump adjustment point to the zero point of the accuracy dial.
8. Turn on the lower jaw motor, lift and lower the lower jaw to an appropriate height, clamp the other end of the sample into the lower jaw, and be careful to make the sample perpendicular.
9. Put down the drawing pen on the push rod and enter the drawing ready state (it is only done when the drawing is required).
10. Slowly unscrew the oil feed valve according to the loading speed required by the test.
11. Close the oil valve after the sample is broken and stop the oil pump motor.
12. Record the required values and will be depicted.
13. Open the oil return valve and turn the passive needle back to zero after unloading.
14. Remove the broken sample.
15. The above tests can be carried out in accordance with the above items.
- Previous article:How to install a clamp to save effort
- Next article:Gate terminal tensile testing machine
Recommended productsPRODUCTS


