Company News
How to adjust the error of hydraulic universal testing machine through 3 methods
Release time:2018-11-23 source:Jinan Hengsi Shanda Instrument Co., Ltd. Browse:
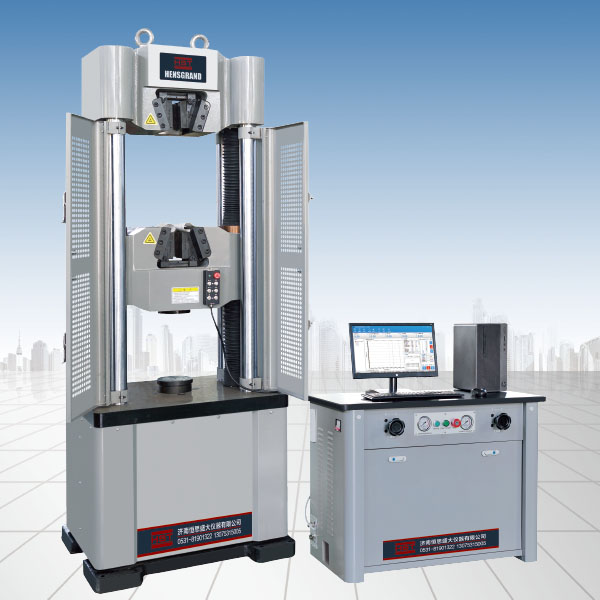
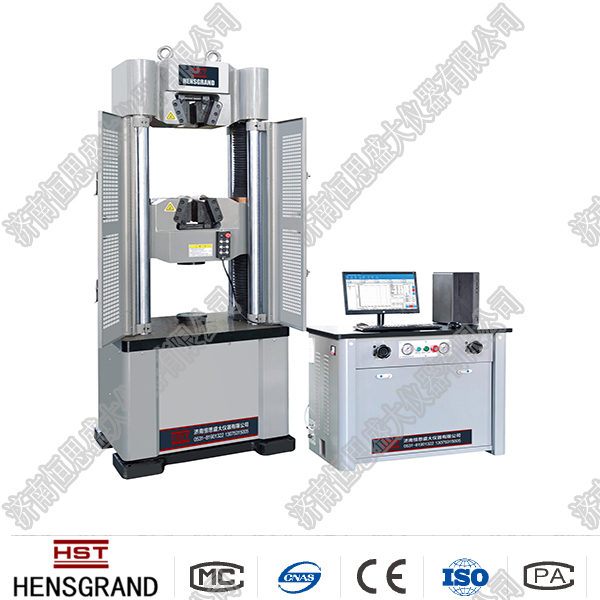
Hydraulic universal testing machineIt has been widely used in mechanical testing. The JJG139-1999 calibration regulations stipulate that the allowable error of the display value usually does not exceed ±1%. When the measurement department checks, the display value error mainly passes three ways: positive deviation of the display value exceeds the difference, negative deviation of the display value exceeds the difference, and the display value error presents "positive front and negative afterwards" or "negative front and positive afterwards" on the dial and exceeds the difference in individual points.
In view of the above three situations, we should make appropriate adjustments.
A situation: After confirming that the installation level of the instrument meets the requirements of the regulations, first check whether the friction in the working part is too large. If yes, the guide wheel clearance should be adjusted to eliminate friction. If necessary, clean the working oil cylinder. If there is still a positive difference after eliminating the influence of friction, the tightening screws of the swing rod in the force measuring part (reading mechanism) and the push plate connecting the sleeve should be loosened, and the push plate should be adjusted to the inside. After tightening the tightening screws, the small disc is checked step by step, and repeated several times until the calibration is qualified. If the small disc is qualified and the large and medium discs are still exceeding the difference, the weight of B and C thallium should be appropriately increased until the calibration is qualified.
The second situation: First, check whether the force-testing piston is installed correctly and whether the friction is too large. After this reason is eliminated, adjust the push plate to the outside and adjust the small dial to be qualified. If the large or medium dial is still exceeding the difference, the weight of B and C thallium should be appropriately reduced until the calibration is passed.
The third situation: At this time, the angle of the contact surface between the push plate and the tooth rod head should be changed. The contact surface is usually fixed to the surface of the push plate with a flat steel sheet through two upper and lower screws. The adjustment method is to loosen the two screws, and use copper or other thin metal sheets to pad the upper or lower side between the steel sheet and the push plate (only padded on one side), so as to change the angle, and repeatedly check and adjust until it is qualified.
MoreMaterial testing machineAll information is in Jinan Hengsi Shanda Instrument Co., Ltd.
- Previous article:2012 Jinan Hengsi Grand Dragon Boat Festival Holiday Notice
- Next article:Detailed introduction to M-BUS system
Recommended productsPRODUCTS


